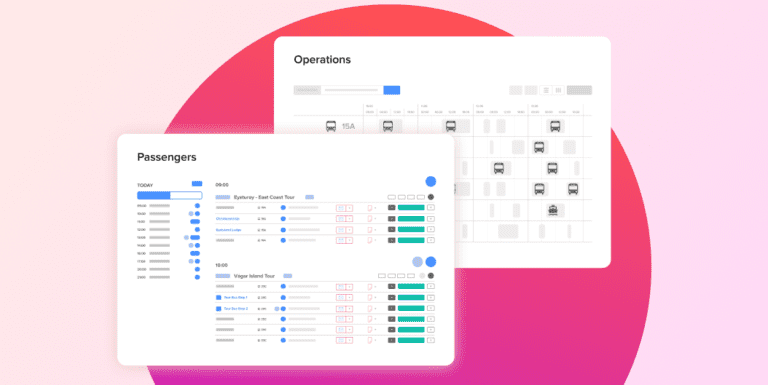
Integrate Dynamic Maps for drivers, guides and office staff into PaxFlow
Integrating dynamic maps into PaxFlow can be a great way to show points of interest to drivers, guides and office staff.
Whether you create maps for hazards or to show extra info about a specific site or landmark, they can be useful throughout your operation.
With dynamic maps, you can easily create, update and share your maps accordingly so that your staff can stay up to date with the latest information and new staff can be onboarded and informed quickly .
Among the most easy and simple tools to use is “Google My Maps”. Get started by creating your first map by choosing the location of interest, then begin adding different layers on the map based on the information type you would like to add.
For Example:
Layer 1 – Pick up locations (Hotels & BnB’s)
Layer 2 – Approved WC stops
Of course, depending on how much information you wish to add, you can always stick to one layer per map and instead create multiple maps for a variety of different points of interest types.
Next up, you can begin dropping pins on the exact locations that you wish to label and annotate. In addition to adding pins, you can also draw on the map by adding a line or shape.
Once you have created your first dynamic map, you can embed it into PaxFlow to make it widely accessible to your team. The maps are embedded in the “Handbook” section in PaxFlow and can be used both on the desktop and en route application.
Check out the video below for a quick tutorial on how to embed a dynamic map in PaxFlow.